Completing all the manufacturing steps manually was no easy task, but today the result is here, and each stage of production is clearly identified.
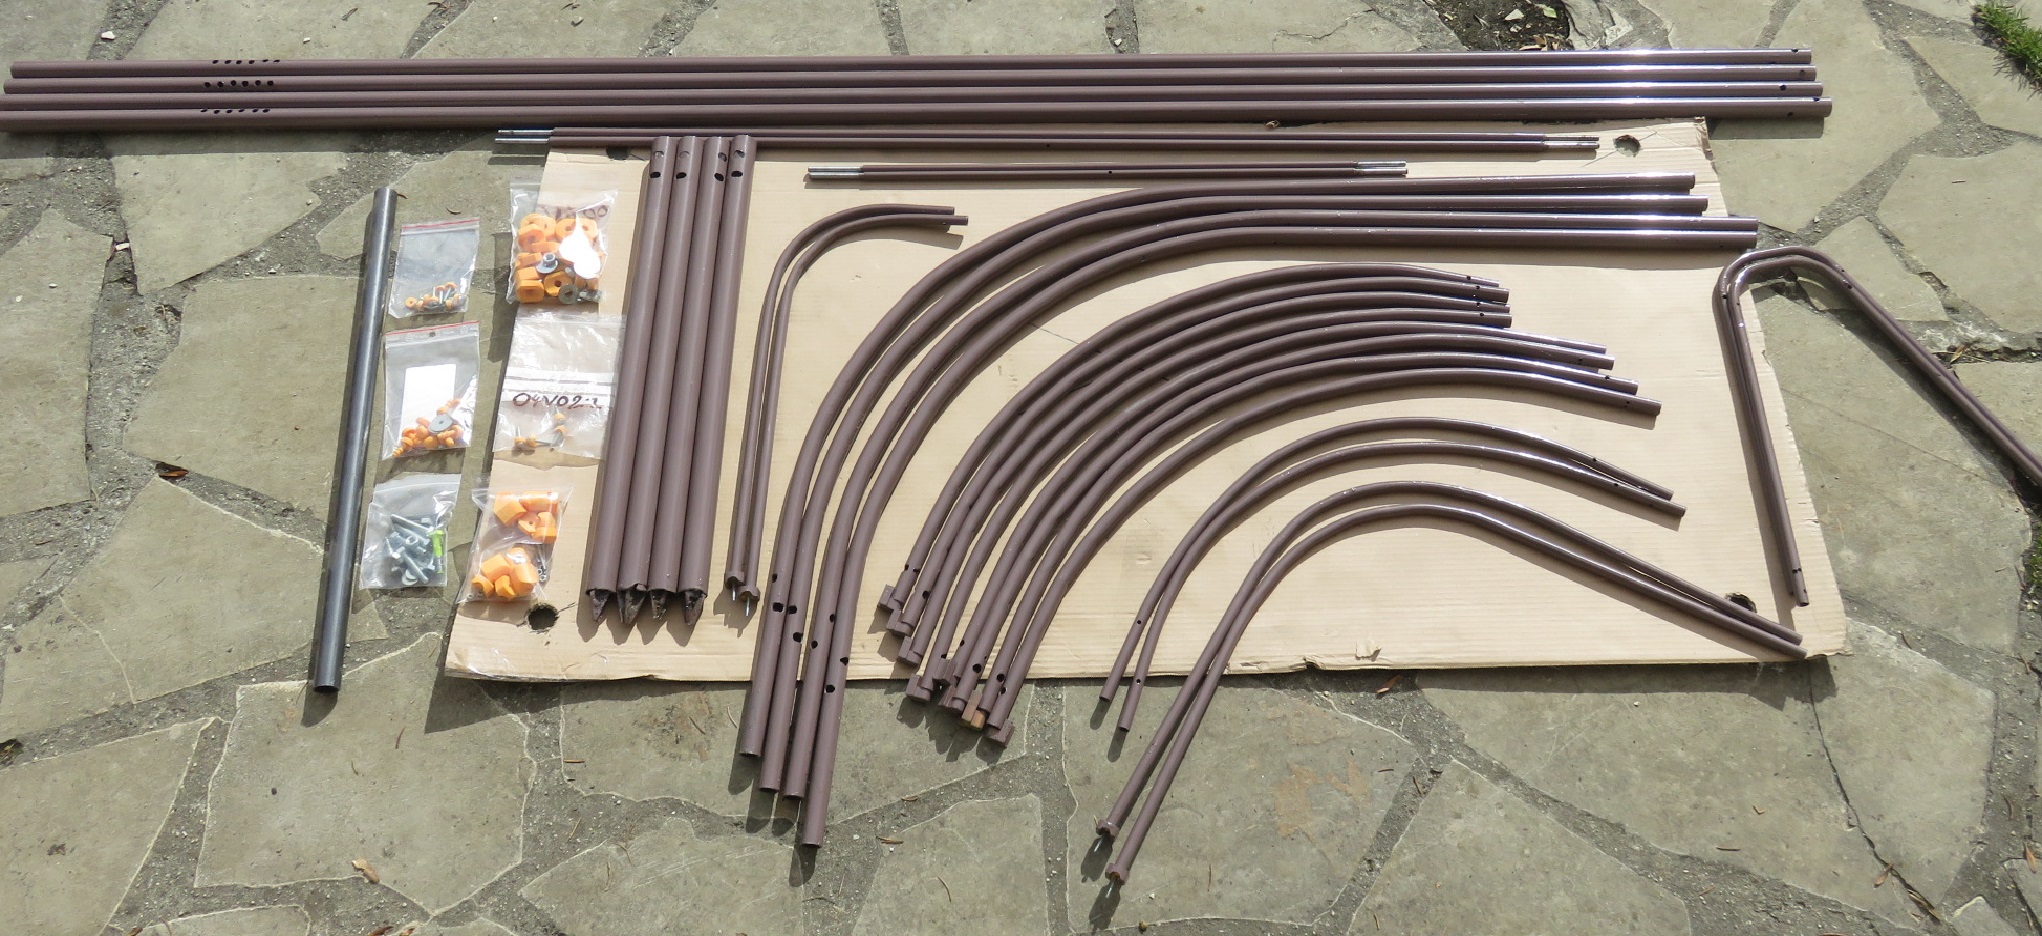
Here is a view of the different shelter components ready for assembly (tubing, screws, connecting accessories). This includes the 4 roof panels. On the left, unpainted, is the tool used to drive the 4 anchors.
Now let’s move on to installation.
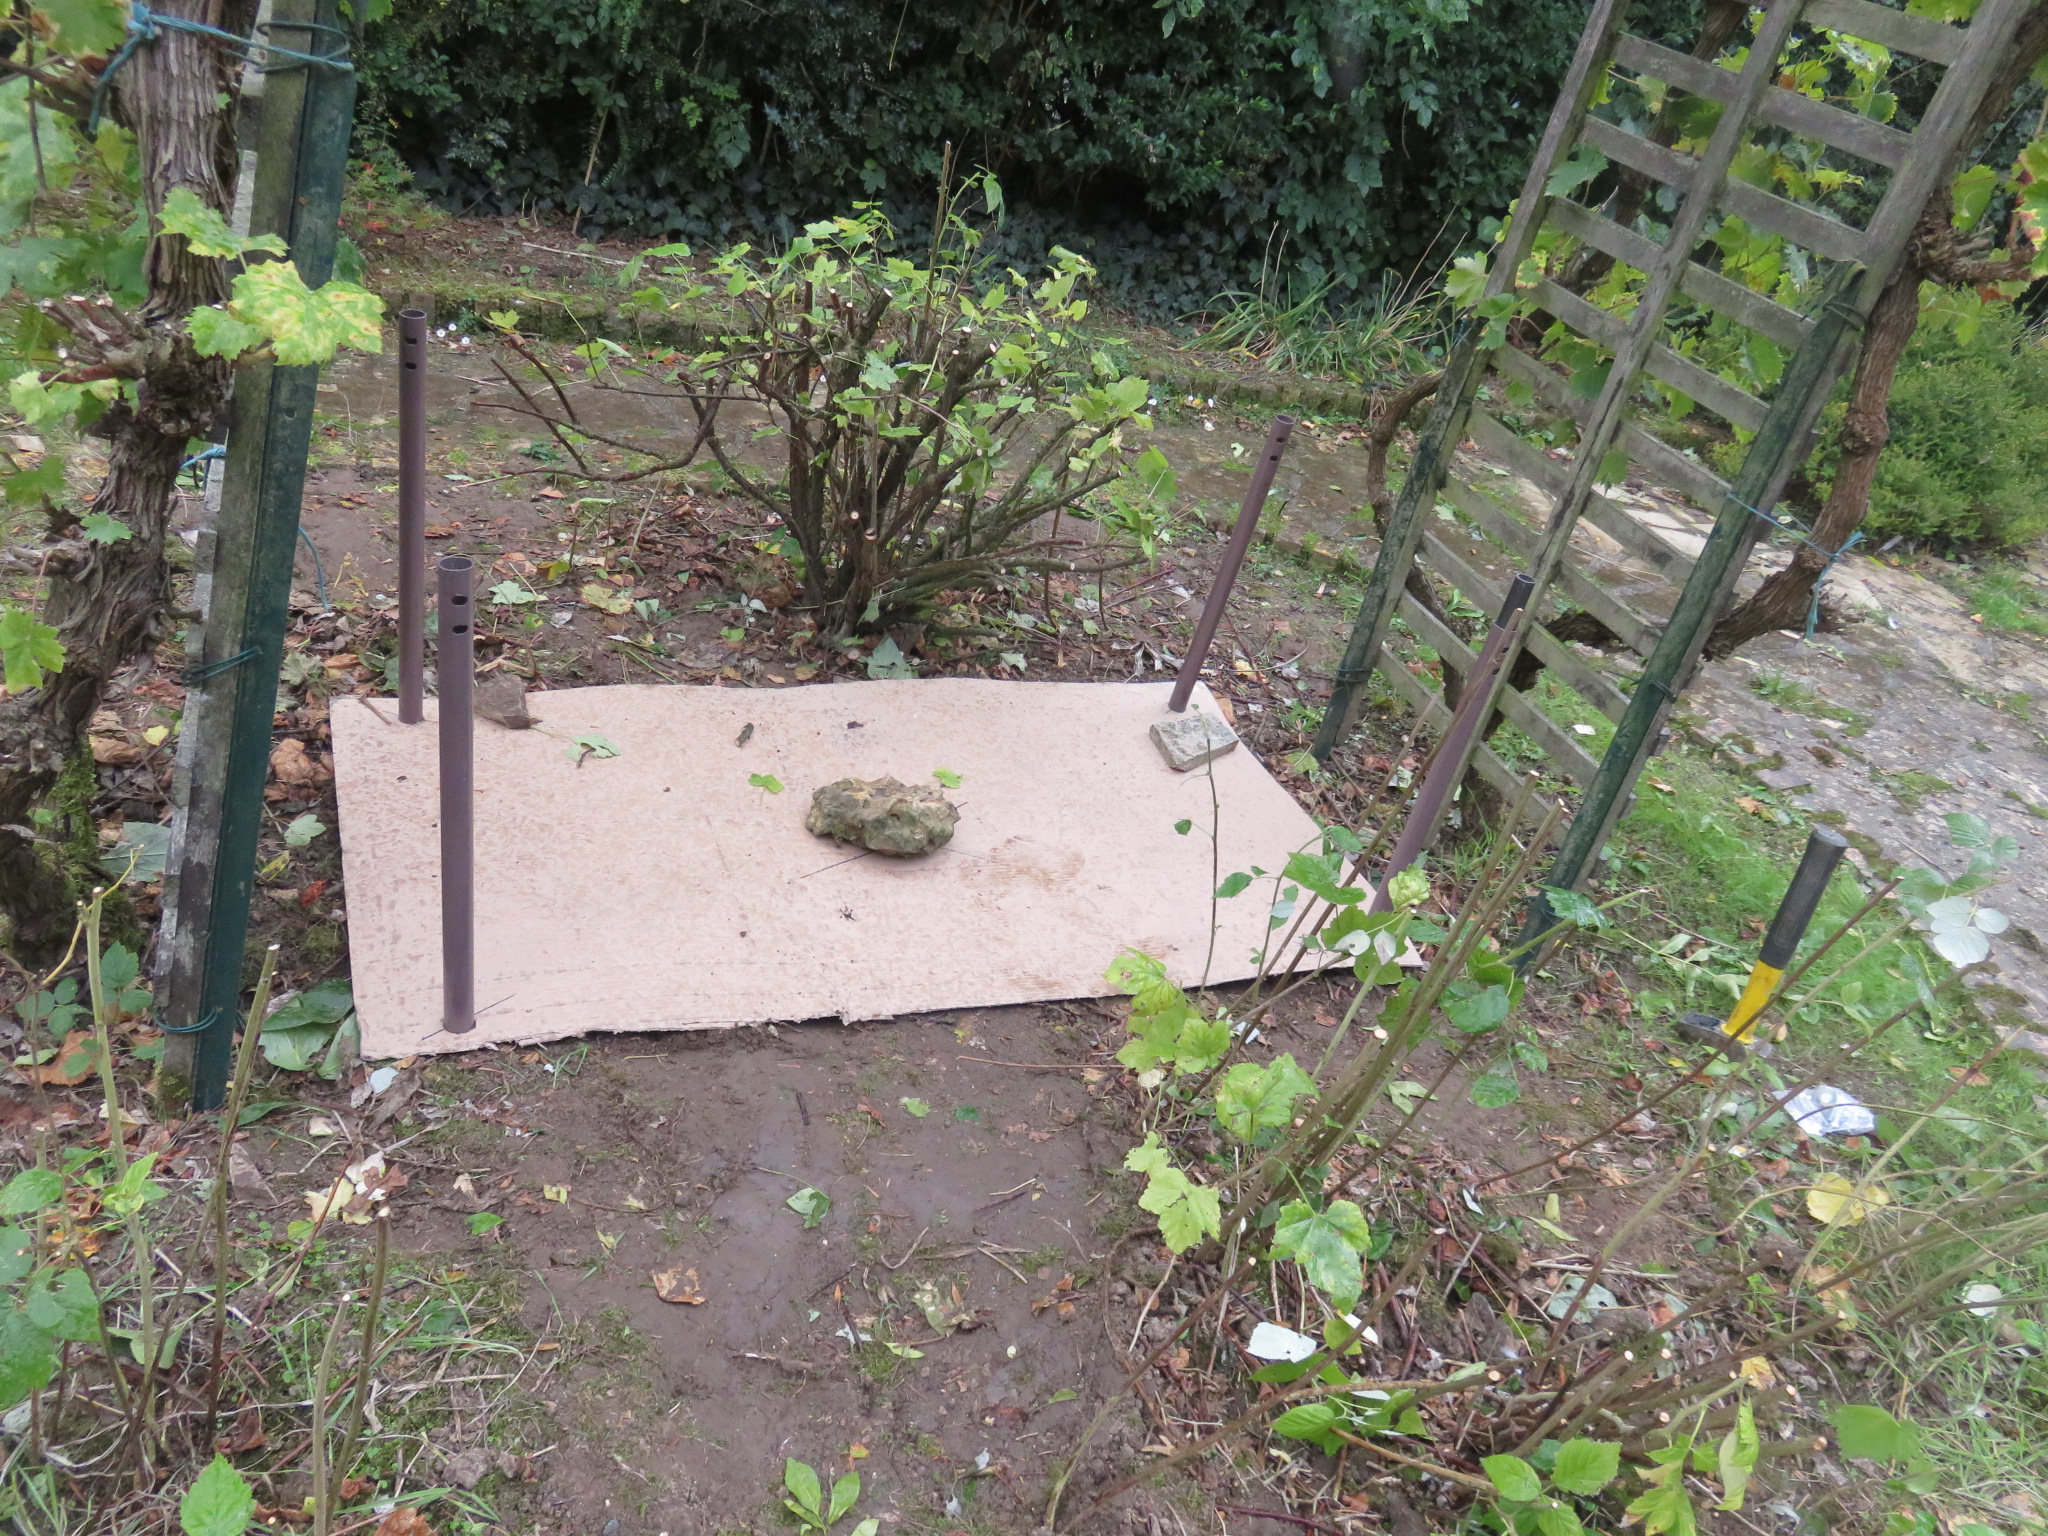
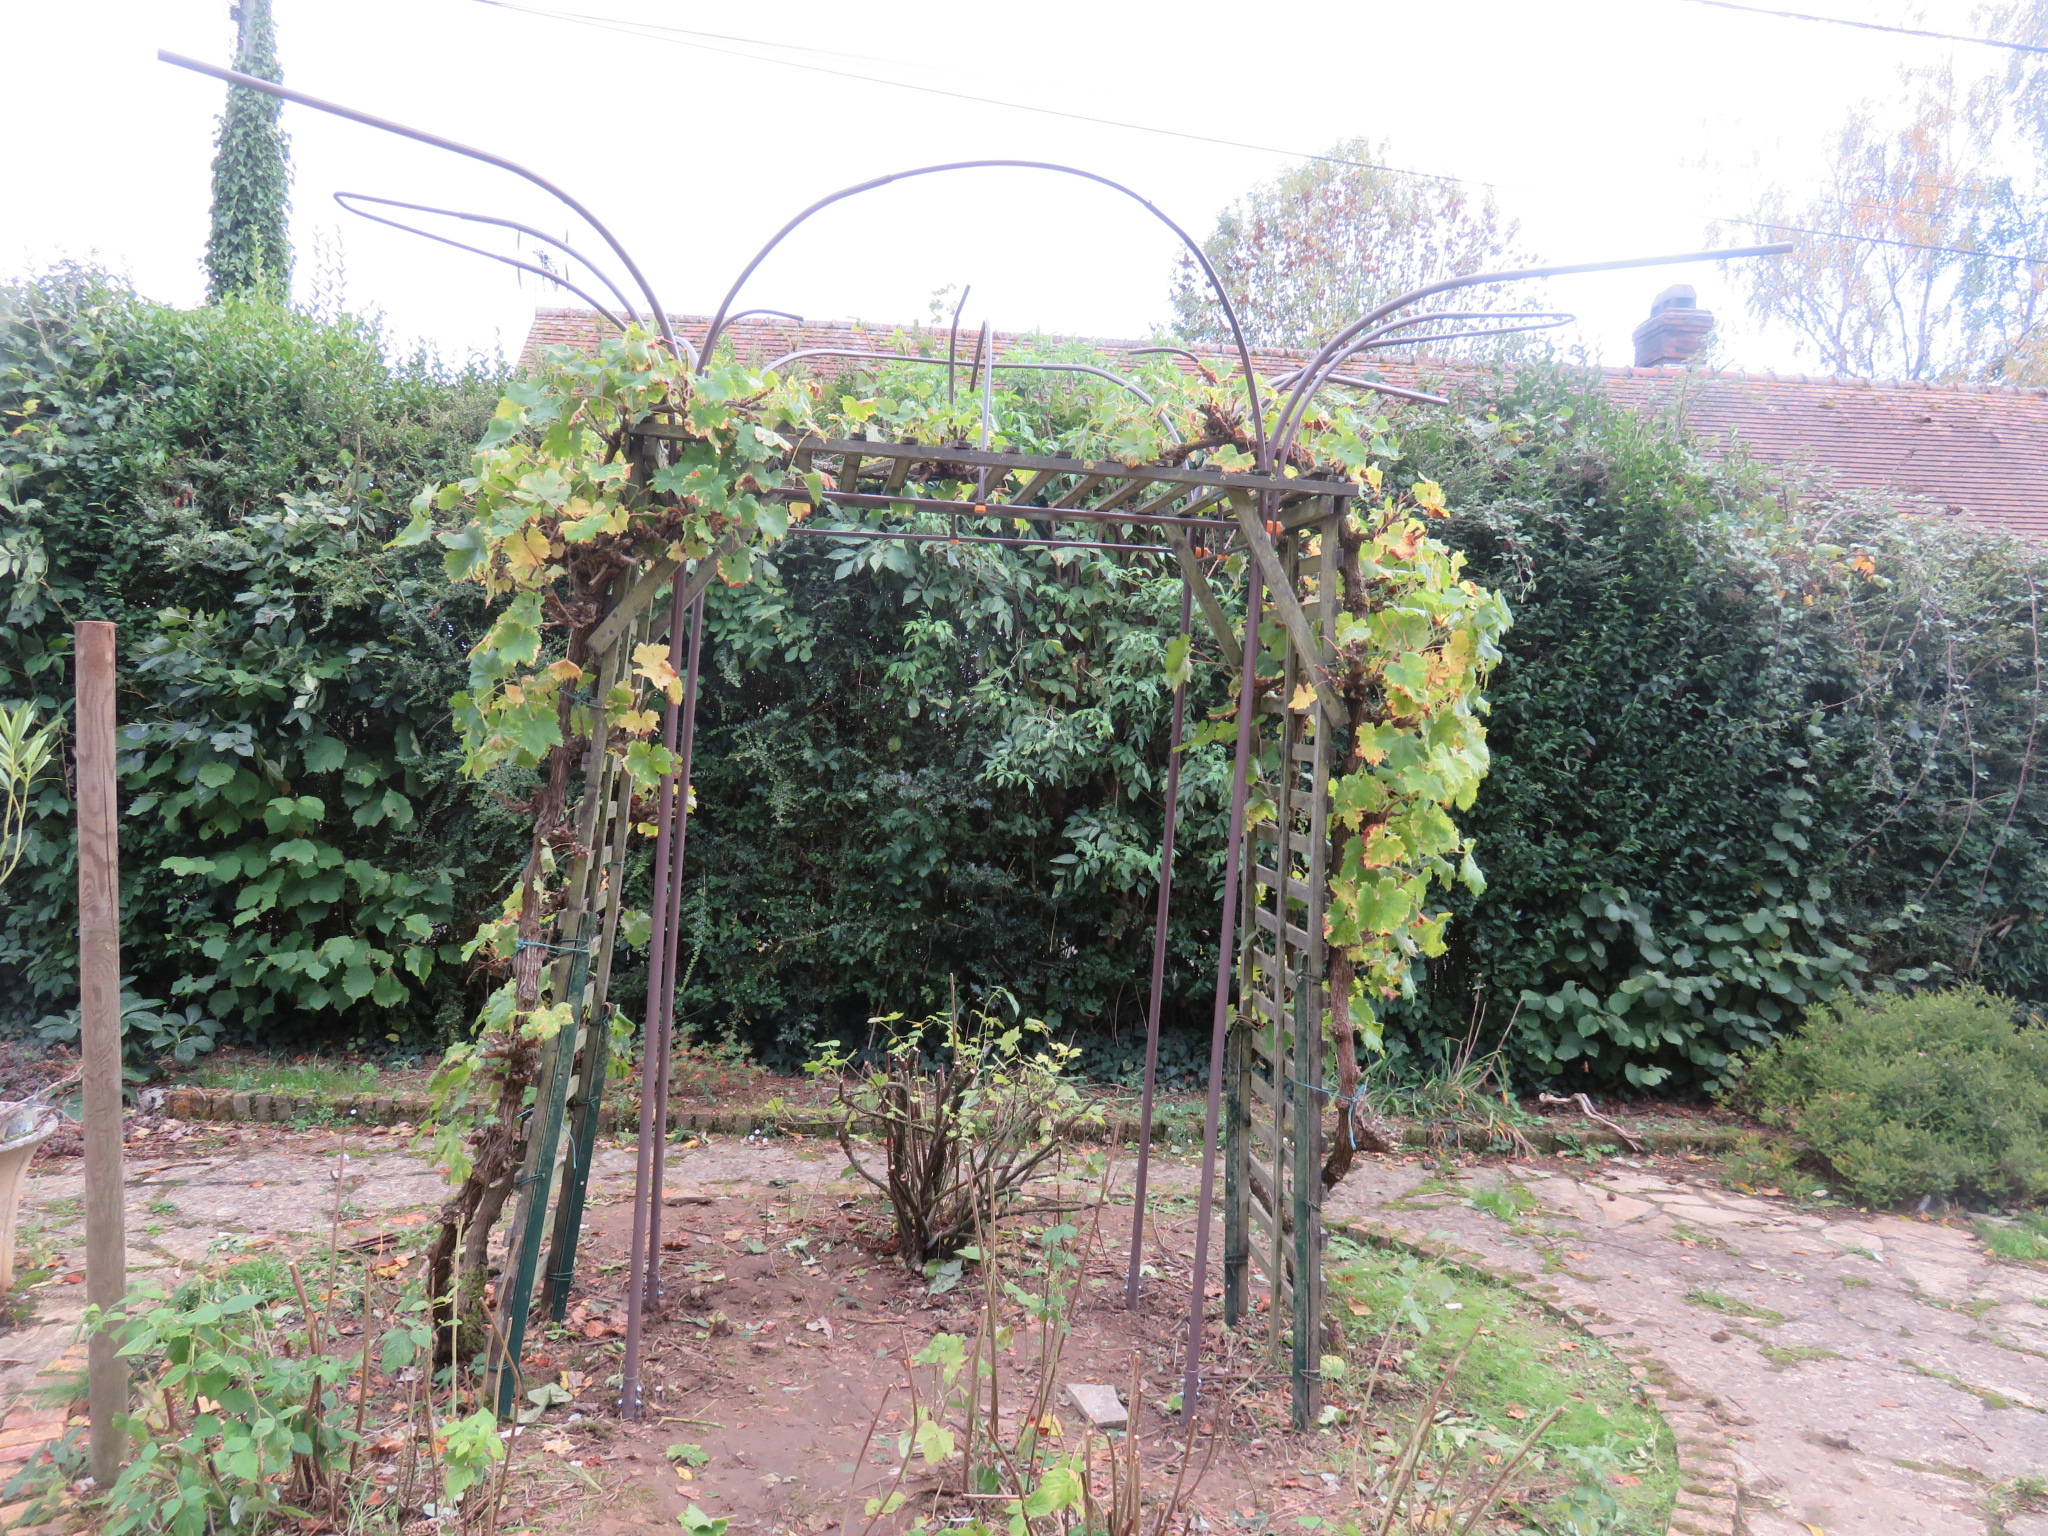
For this first installation, I chose to protect a structure supporting 2 vine plants. The shelter is perfectly suited for this kind of setup.
First, the 4 anchors are positioned. The template used is a simple piece of cardboard, which is actually the packaging cardboard with marked hole positions. Placing the anchors is very easy with this tool, no measuring required.
After driving in the 4 anchors, the posts are assembled.
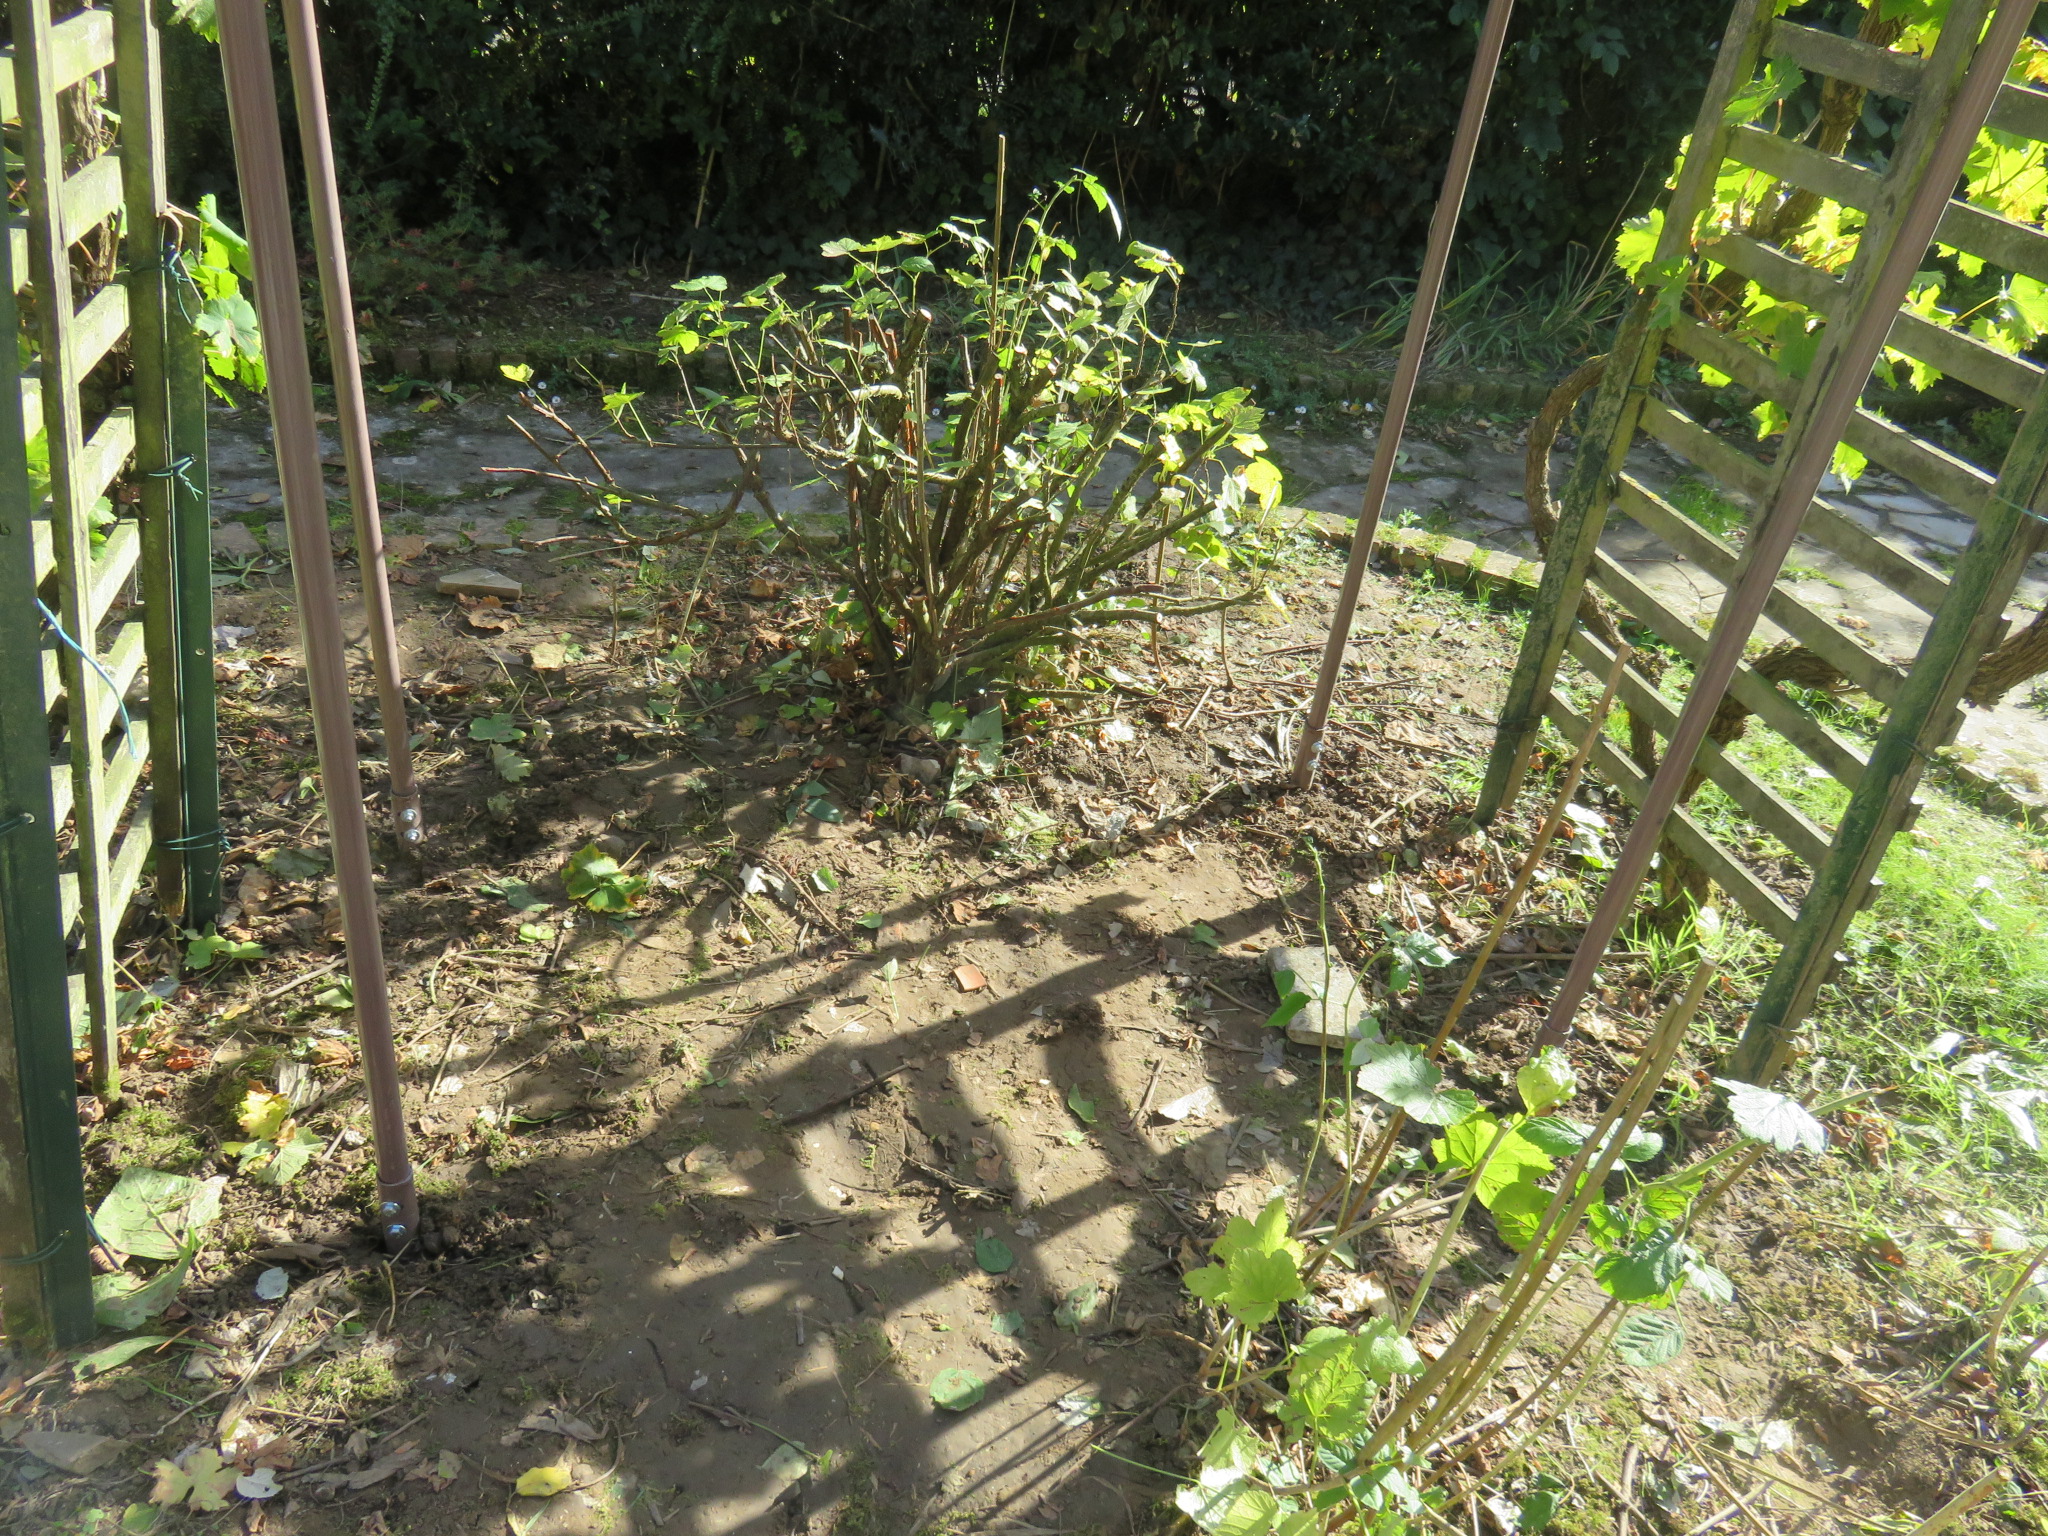
Then, the crossbars are inserted.
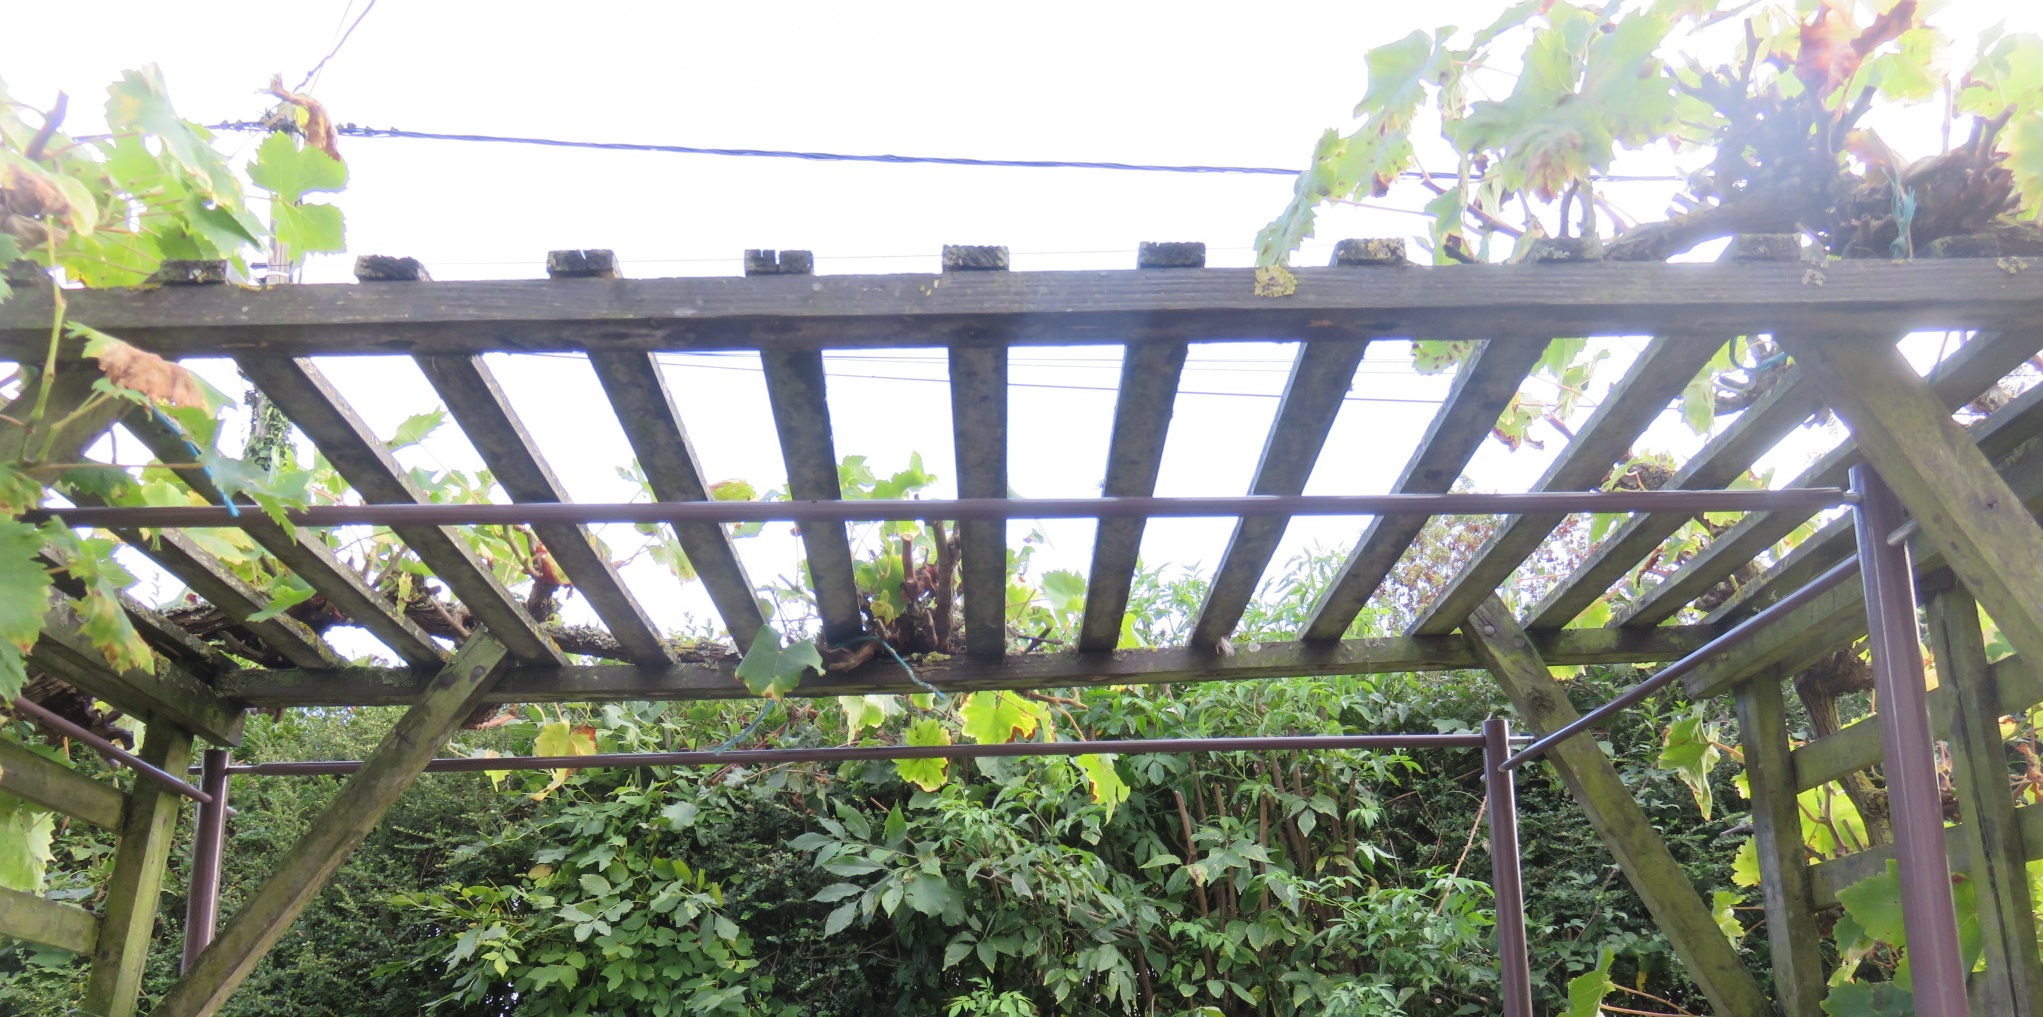
Finally, the hoops are bolted. This step is very easy, as the bolts are already fixed at the ends of the crossbars, so the hoops and connecting washers just stack onto them.
The last step is placing the pre-formed transparent panels. The support blocks (orange here) screwed onto the hoops are pre-assembled during production. Lifting the panels and placing them onto the hoops is not difficult, as each panel weighs only a few kilos and can be handled alone. However, caution is needed in windy conditions, which could disrupt the assembly.
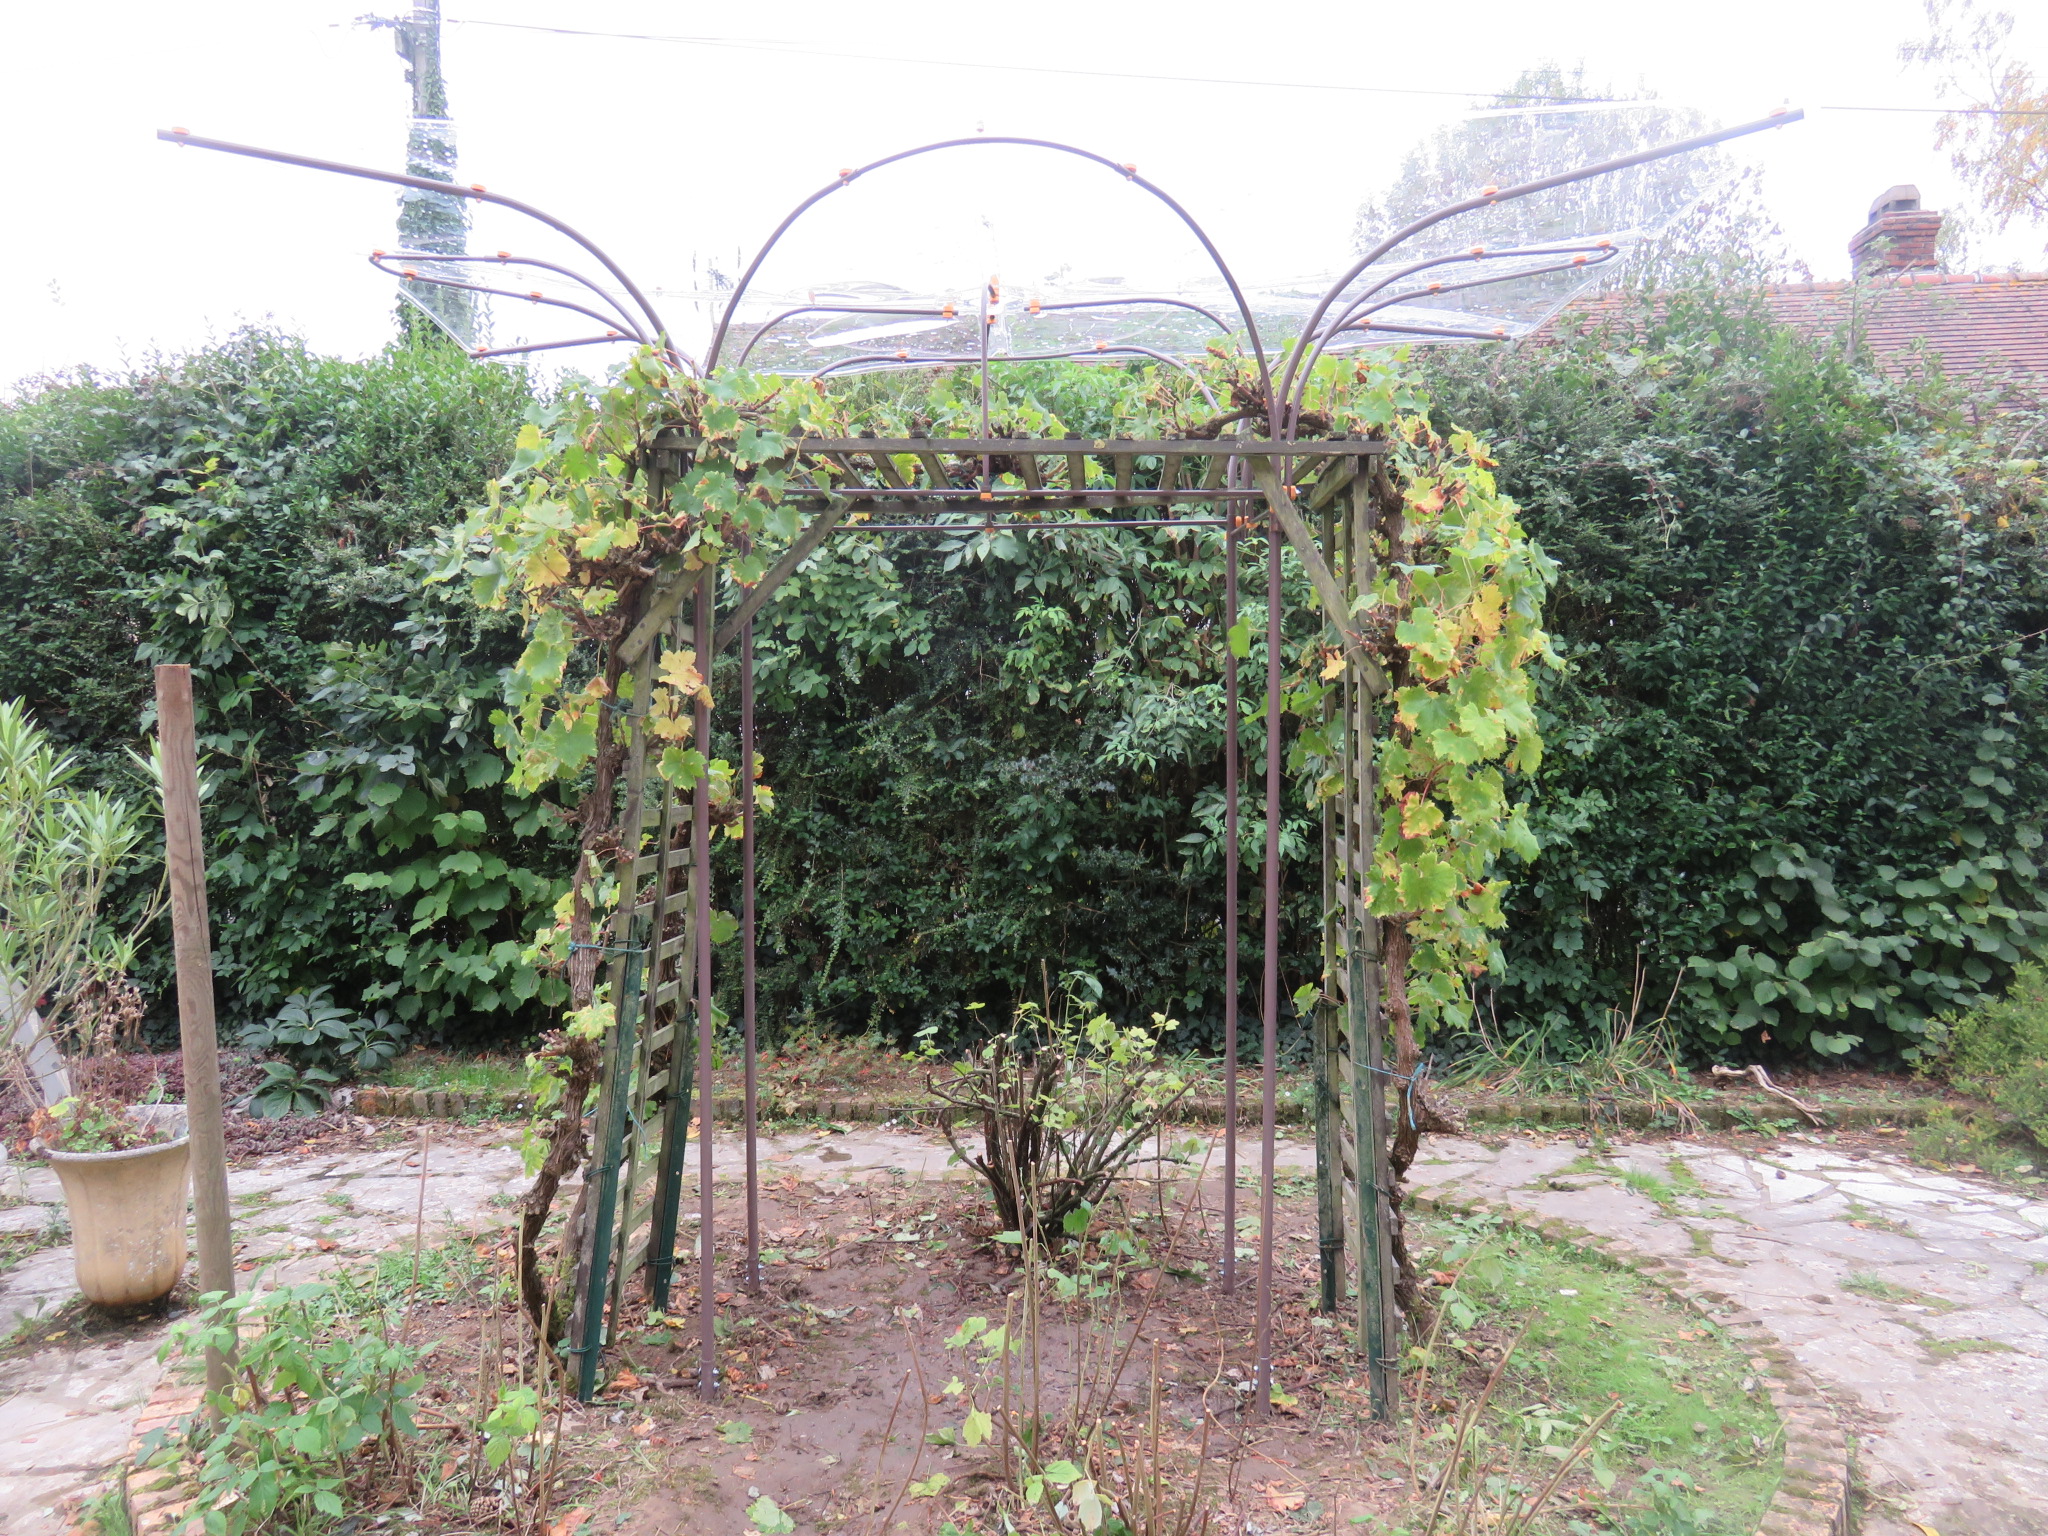
And that’s it, assembly complete.
If you want to be informed of the first availability or leave me a message, you can use the contact page or enter your email below.